Wonderful Info About Can I Use 1K Ohm Resistor For LED

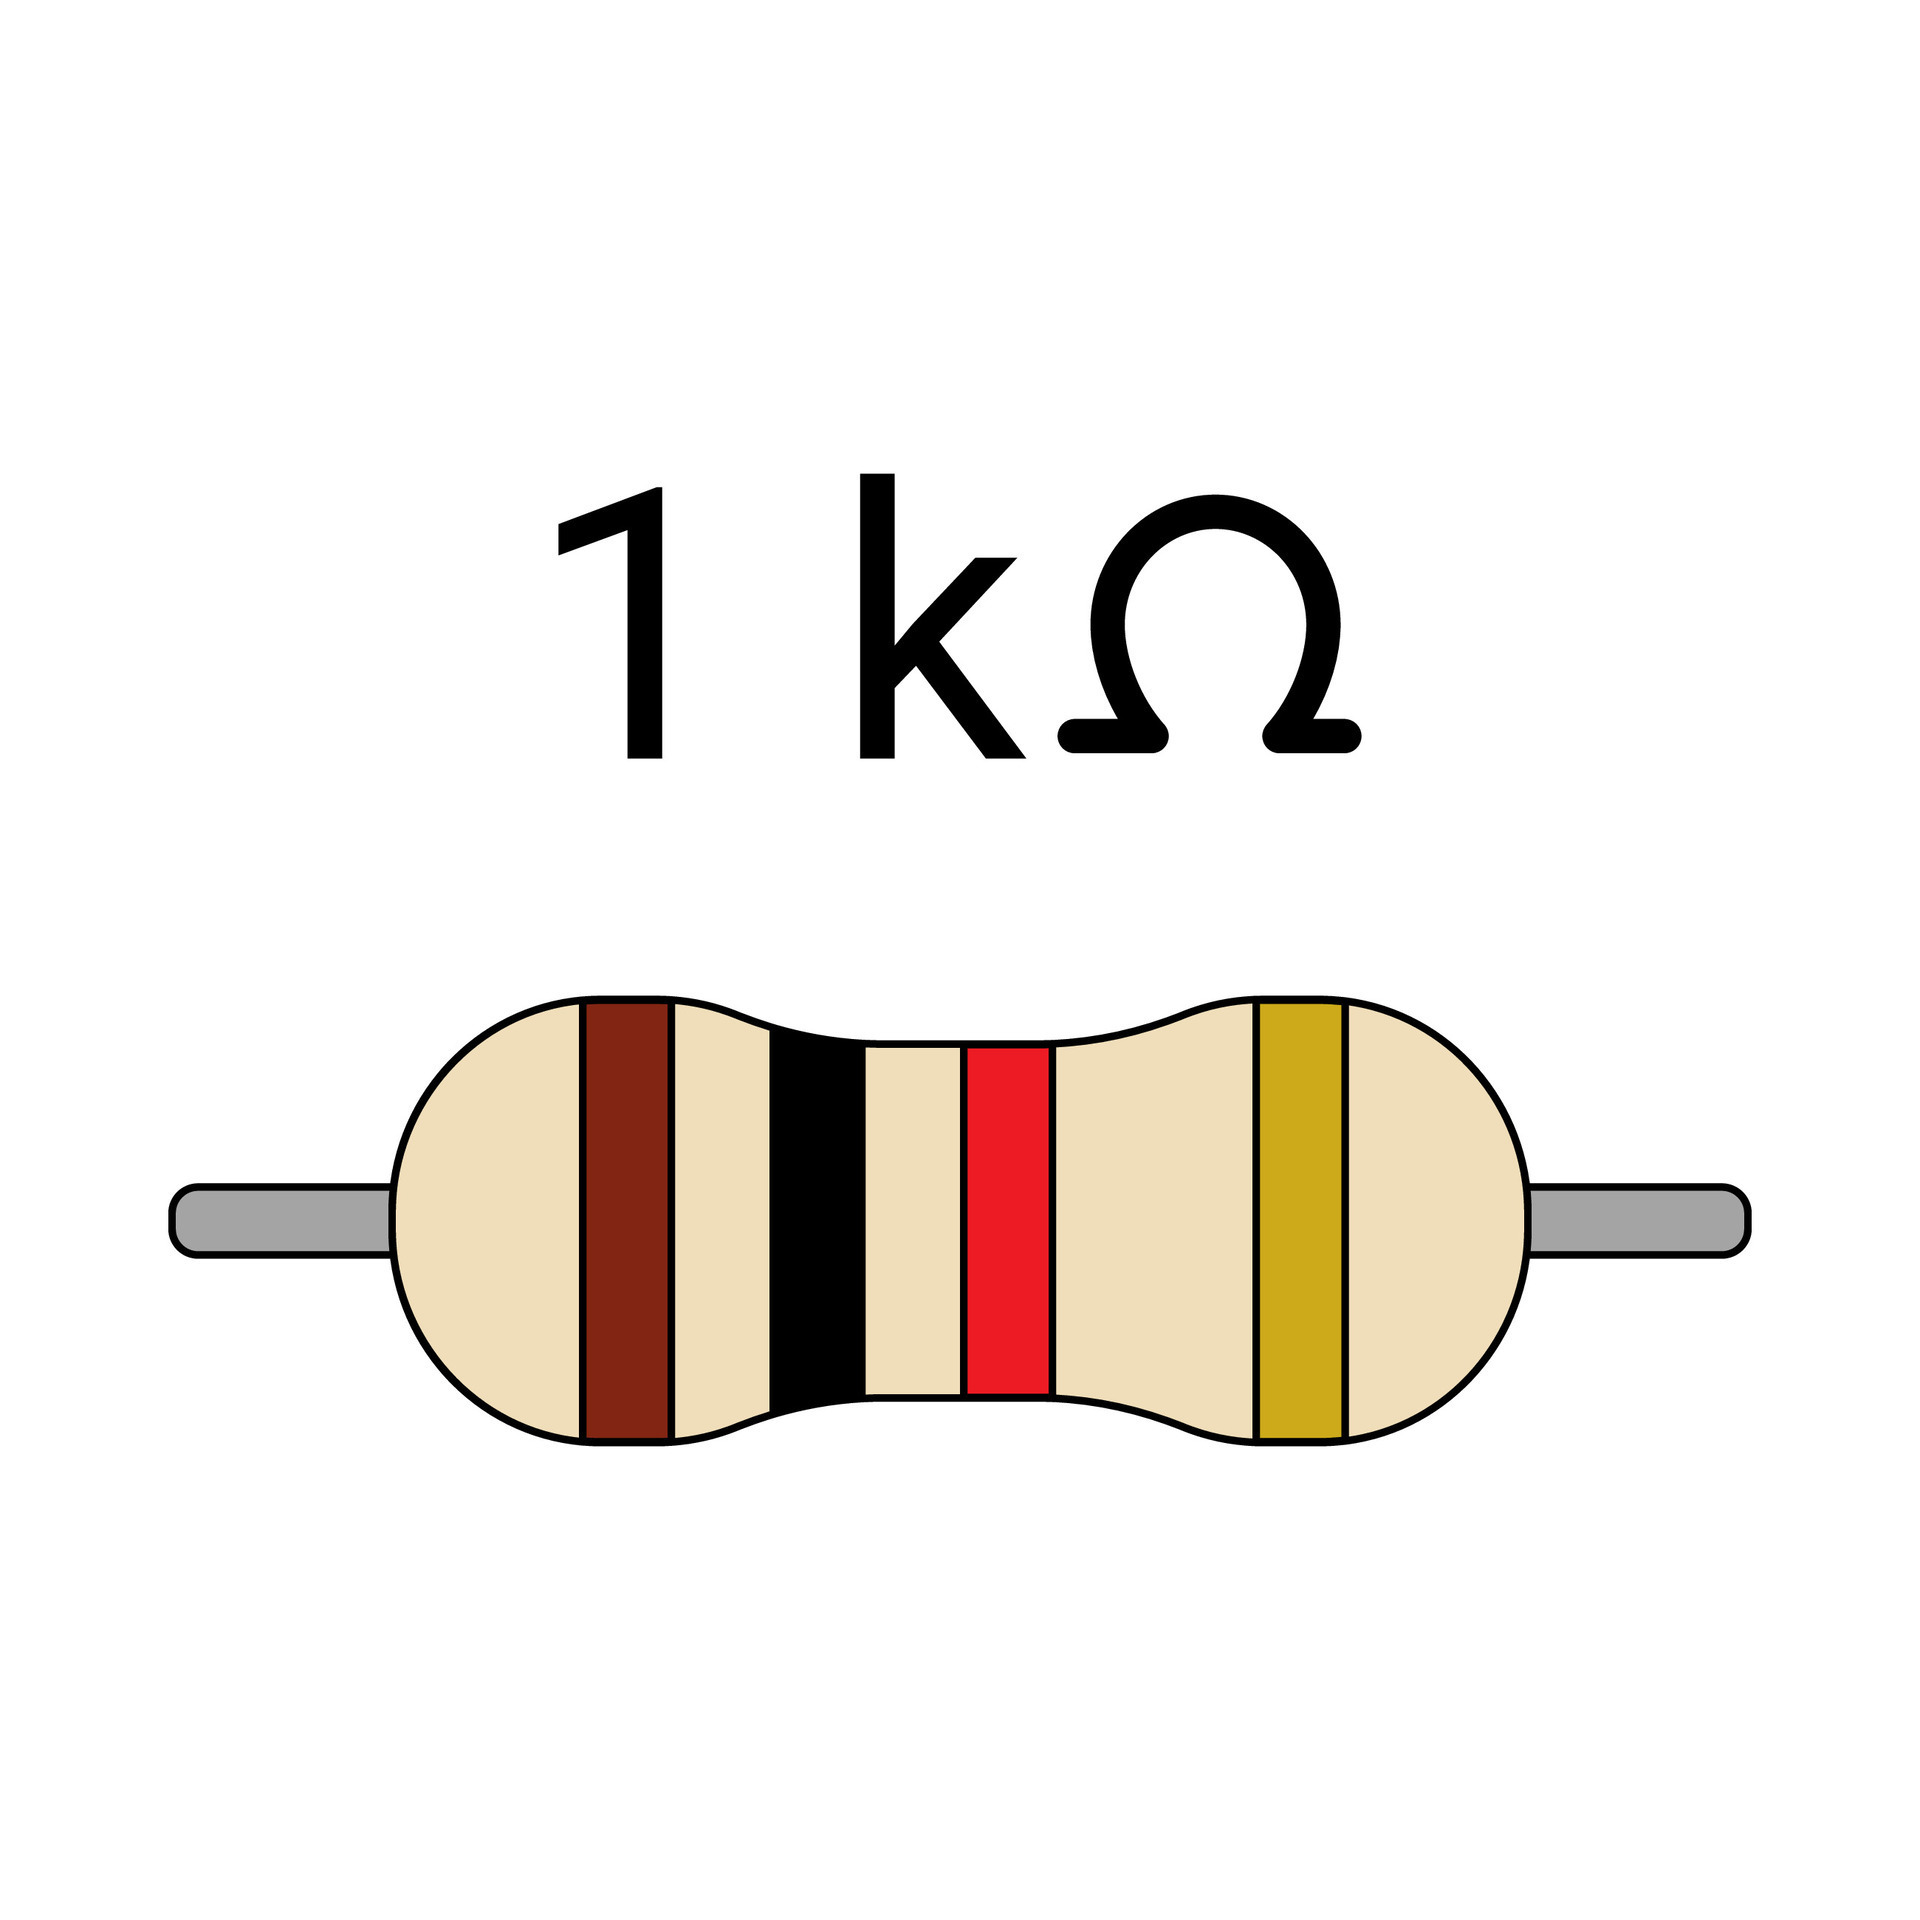
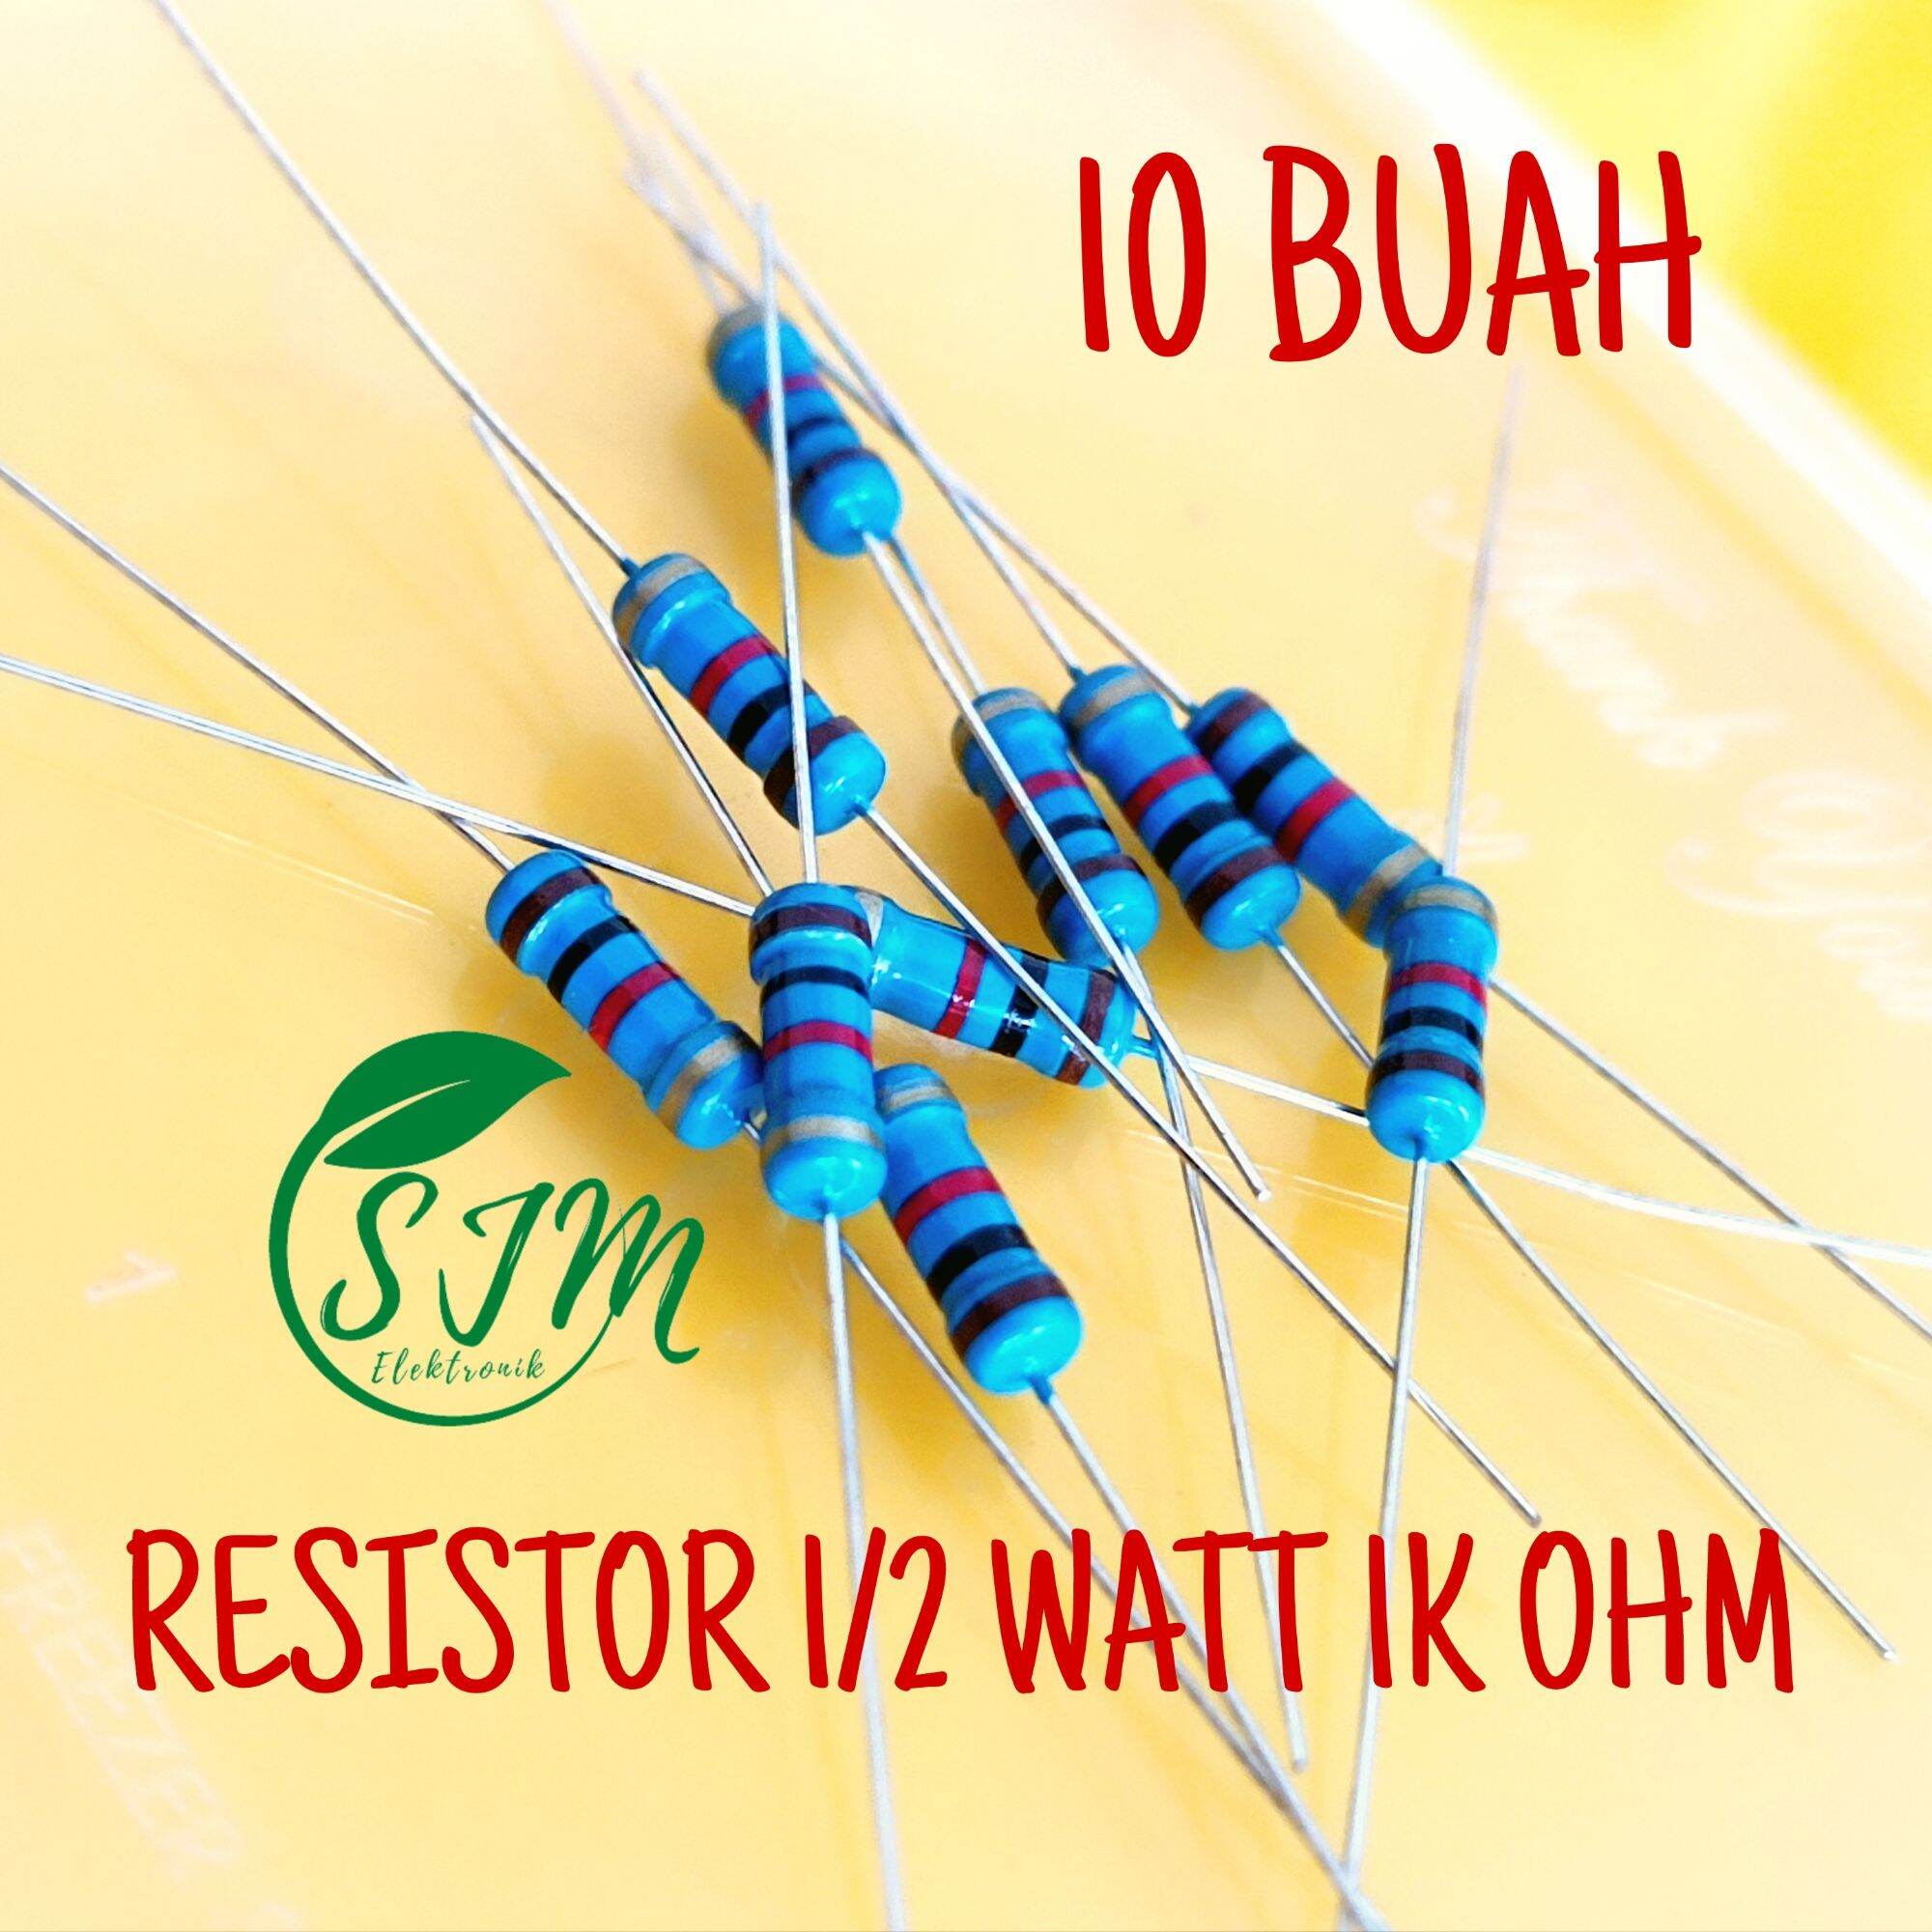
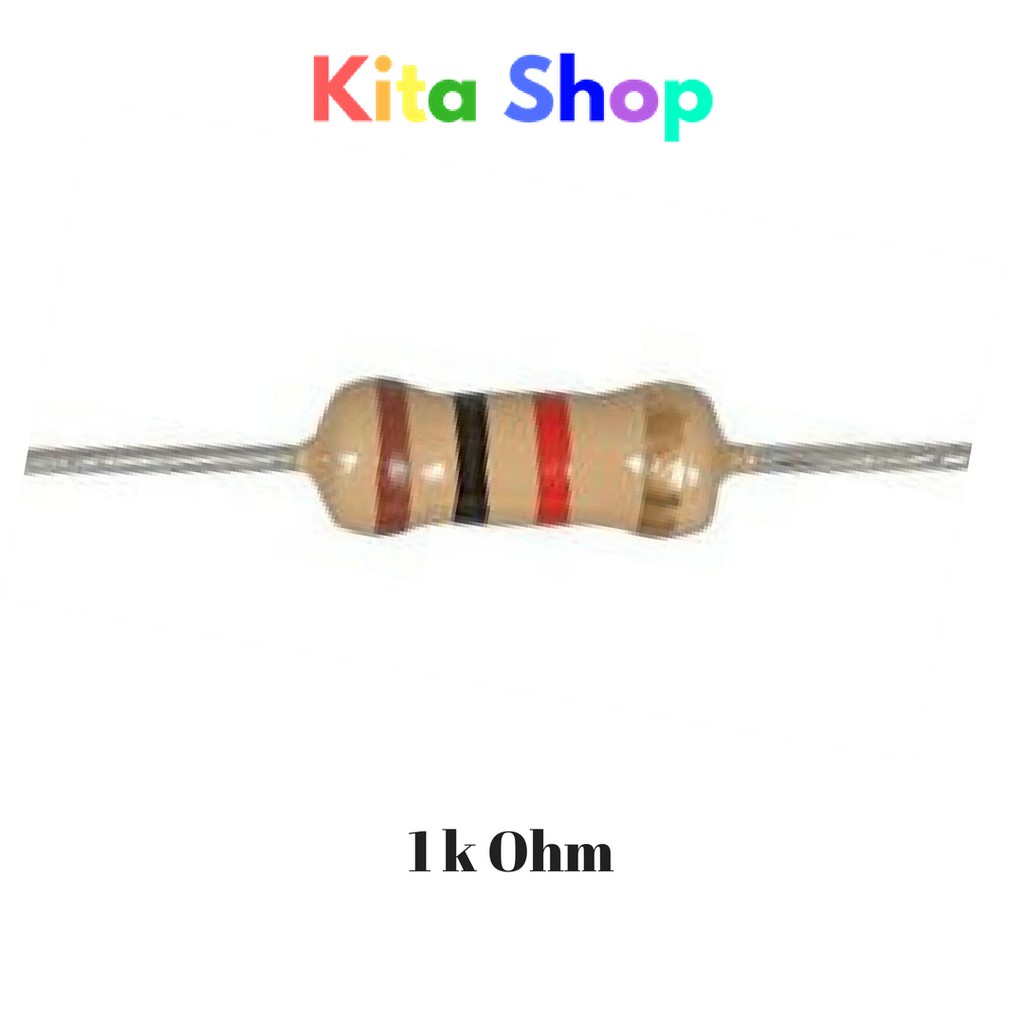
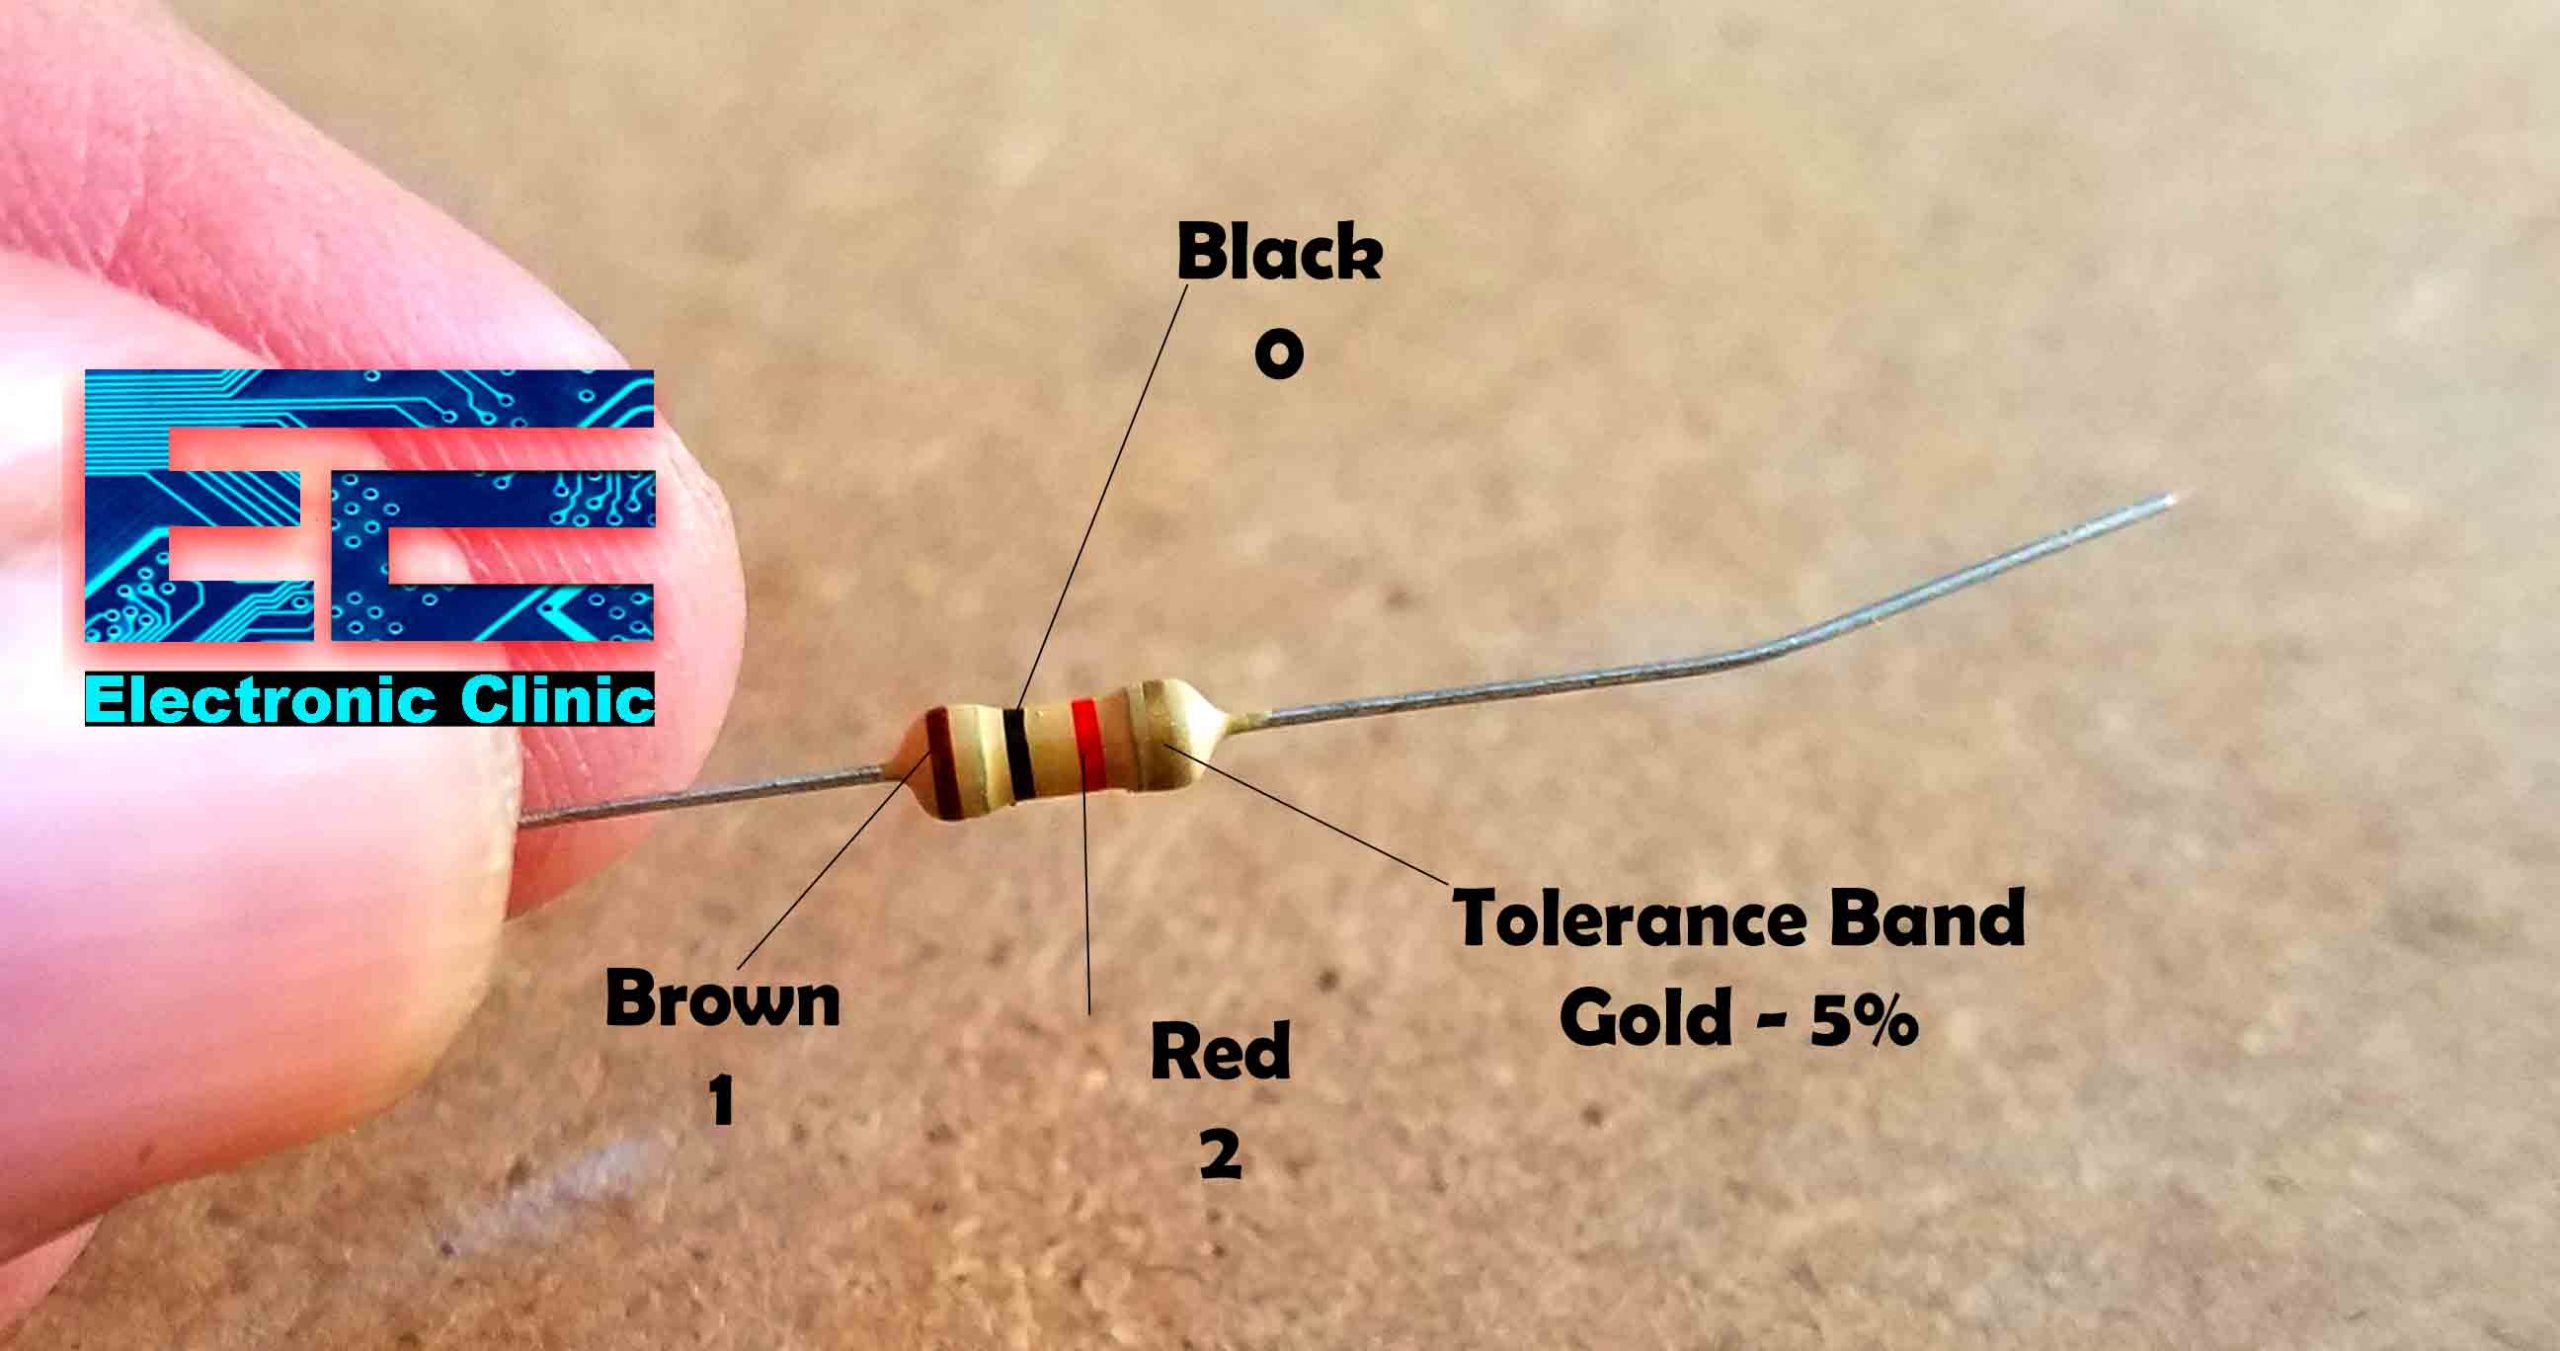
1k Ohm Resistor
Shedding Light on LED Resistors
1. Understanding the Basics
So, you're tinkering with LEDs, huh? Fantastic! LEDs are like the tiny, efficient stars of the electronics world. But like any star, they need a little help to shine brightly without burning out. That's where resistors come in, acting like miniature bouncers, controlling the flow of current. The question is, can a 1K ohm resistor be your go-to guy for every LED situation? Well, let's unpack that.
The short answer is: it depends. (I know, classic engineer answer, right?). Think of it like choosing the right wrench for a bolt. A giant wrench might technically "fit," but it could easily strip the bolt. Similarly, the 'right' resistor value depends on your specific LED's forward voltage and the voltage of your power supply. Using a resistor that's too high can dim your LED, while one that's too low can lead to a quick, fiery demise for our little light-emitting friend.
Think of it this way: the resistor's job is to drop the extra voltage that the LED can't handle. If your power supply is much higher than what the LED needs, a 1K ohm resistor might be suitable. However, if the voltage difference is minimal, it could be overkill. We need to calculate the actual resistance required to keep things happy and illuminated.
In essence, it's all about balance. Not enough resistance, and your LED gets too much current. Too much resistance, and your LED might as well be taking a permanent vacation. We want a Goldilocks resistor just right!

Delving Deeper
2. The Formula for LED Bliss
Alright, let's get a little mathematical (don't worry, it's not calculus!). To figure out the ideal resistance, we'll use Ohm's Law, which, in this case, boils down to this handy formula: R = (Vs - Vf) / I. Where:
- R is the resistance (in ohms)
- Vs is the supply voltage (in volts)
- Vf is the LED's forward voltage (in volts) — check the LED's datasheet!
- I is the desired LED current (in amps) — again, check the datasheet! This is often in milliamps, so divide by 1000 to get amps.
Let's imagine a scenario: You have a 5V power supply, an LED with a forward voltage of 2V, and a desired current of 20mA (0.02A). Plugging those numbers into the formula gives us: R = (5V - 2V) / 0.02A = 150 ohms. So, in this specific case, a 1K ohm resistor would be much too high, and your LED would be very dim or not light up at all. You'd be better off with something closer to 150 ohms (or the nearest readily available value, like 180 ohms or 220 ohms).
It's important to remember that these values are critical. Don't just wing it! Always consult the LED's datasheet. It's the LED's instruction manual, and it'll save you from a lot of frustration (and potentially fried components). Datasheets are typically available online from the manufacturer. Search for the LED's part number.
Consider it an investment in your project's longevity — and your sanity. Taking the time to find the correct resistor value will ensure that your LED shines brightly and lives a long, happy life. And that, my friend, is worth the effort!

1k Ohm Resistor Resistors Table Explain Stock Vector, 45 OFF
When Might a 1K Ohm Resistor Actually Work?
3. Specific Scenarios
Okay, so we've established that a 1K ohm resistor isn't a universal solution. But there are situations where it might be perfectly suitable. Let's say you're working with a higher voltage power supply, maybe 9V or even 12V, and an LED that only needs a small amount of current. In these instances, a 1K ohm resistor could be just what the doctor ordered.
For example, consider a 12V system powering an LED with a forward voltage of 2V and a desired current of 10mA (0.01A). Using our formula: R = (12V - 2V) / 0.01A = 1000 ohms. Bingo! In this specific case, a 1K ohm resistor is exactly what you need.
Another instance might be when you're intentionally trying to dim the LED for aesthetic purposes. Perhaps you're building a nightlight or an indicator that shouldn't be too bright. Using a higher value resistor, like 1K ohm, will reduce the current flowing through the LED, resulting in a dimmer light.
The key takeaway here is that it's all about context. Don't blindly reach for a 1K ohm resistor simply because you have a bunch of them lying around (we've all been there!). Always do the math, consider your specific components, and tailor your resistor choice accordingly. Remember, LEDs are like snowflakes — no two setups are exactly alike.

Why Do You Need A Resistor With An Led At Richard Sandoval Blog
Practical Considerations
4. Beyond the Ohm Value
So you've calculated the resistance, found the perfect value, and you're ready to go, right? Not quite! There's one more thing to consider: the resistor's wattage rating. This is how much power the resistor can safely dissipate as heat without going up in smoke. Choosing the wrong wattage can lead to overheating and, potentially, a component failure.
To calculate the power dissipated by the resistor, we use the formula: P = I R, where P is the power (in watts), I is the current (in amps), and R is the resistance (in ohms). Let's go back to our 5V example with the 150-ohm resistor and 0.02A current. P = (0.02A) 150 ohms = 0.06 watts. In this case, a standard 1/4 watt (0.25W) resistor would be more than sufficient.
Always choose a resistor with a wattage rating that's significantly higher than the calculated power dissipation. This gives you a safety margin and prevents the resistor from overheating. It's usually a good idea to at least double the calculated power.
Resistor tolerance is another factor, but generally less critical for LED applications. Tolerance is the percentage by which the actual resistance value can deviate from the stated value. For example, a 5% tolerance 1K ohm resistor could actually be anywhere between 950 ohms and 1050 ohms. For most LED projects, 5% or even 10% tolerance resistors are perfectly acceptable.

Troubleshooting and Common Mistakes
5. Avoiding the LED Blues
Even with careful calculations and component selection, things can sometimes go wrong. Perhaps your LED isn't lighting up at all, or maybe it's incredibly dim. Don't panic! Troubleshooting is a normal part of electronics tinkering.
One of the most common mistakes is simply miscalculating the resistance. Double-check your math, making sure you're using the correct values for your LED's forward voltage and desired current. Also, ensure that you're using the correct units (volts, amps, and ohms). A simple unit conversion error can throw everything off.
Another potential issue is a faulty resistor. Resistors can sometimes fail, especially if they've been overheated or subjected to excessive current. Use a multimeter to measure the resistance of the resistor and make sure it's within the expected range.
Finally, check your wiring. Make sure that the LED is connected with the correct polarity (the longer lead, or anode, should be connected to the positive side of the circuit). Also, ensure that all connections are secure and that there are no loose wires or shorts.
